
Today I wanted to do a tutorial on one of my favorite things to make...
A Capri Sun tote bag!

These little guys are perfect for carrying around all of your summer schmutz. You can even use them as lunch coolers because they're pretty well insulated. And, best yet - they're totally "green." Completely recycled. Yup.
Before I show you how to make them... I should show you my "Capri Sun" drawer...

I know... it's... a little sad... but I just couldn't stand to throw them all away! =P
Now... onto the tutorial.
Cleaning:
So, first you actually have to drink them... and after that you're going to want to clean them. Here's the way that I have found to be easiest...

Step 1. Remove all of the straws and the straw wrappers.
2. Fill your sink with nice hot, sudsy water.
3. Cut open the bottom of the pouch with a sharp knife. (being careful not to cut through the front/back of the pouch) This cut will not be seen on the finished bag... and it's way easier than trying to clean the leftover juice out through that tiny straw hole. (trust me on this... I know from experience)
4. Toss all your pouches into the nice sudsy water. and rinse thoroughly. You can even use a dishrag to scrub them out if you'd like. (especially if you've left them in a bag, unwashed, for a couple of months already... you should scrub them. heh.)
5. Set them on a towel to dry.
6. Once dry, you're going to clean that pesky little sticky square off the front. I use Goo Gone, (wonderful stuff) a kitchen scraper, and paper towels.
7. Spray Goo Gone on the sticky place on the front and scrape it until the goo is aaaaallllll gone. (see what I did there?)
8. Wipe away the excess liquid/sticky residue with a paper towel. (this part of the process can get little messy... so just be prepared)
Assembly:
You're going to need 22 Capri Sun pouches total for this project. (your choice of flavor/color) Cleaned and dried.


You're going to need 6 per front/back of the tote. 2 per side. 2 per handle. And 2 for the bottom.
Arrange them in whatever flavor pattern suits your fancy... you can see that I've laid mine out in sections for front/back, sides, handles, and bottom. You can use as many or as few different flavors/colors as you like. It's totally up to you. =)

Next: get some masking tape... yup... masking tape. It make it way easier to sew when all of your pieces are taped together (you can't pin because that would create holes in your pouches) or else they will slide around everywhere while you try to sew.

Start with one of the front/back sections...

Flip the pouches over and begin taping them together on the back... overlapping about 1/4 of an inch.

Continue taping horizontally across the back.

Flip it over and you're set to sew... but first... lets tape the other pieces. =)

Tape the sides in the same way as the front/back... and make sure that the sides are the same height as the front/back piece.

Tape the bottom in the same way and make sure it's the same width as the bottom of the front/back piece.

You should now have 7 taped pieces of the bag. Lets sew!

I always use a jeans needle... and most of the time I try to use a more dull one... because sewing through this stuff ruins the needle... so I like to ruin an already dull needle. Get me?
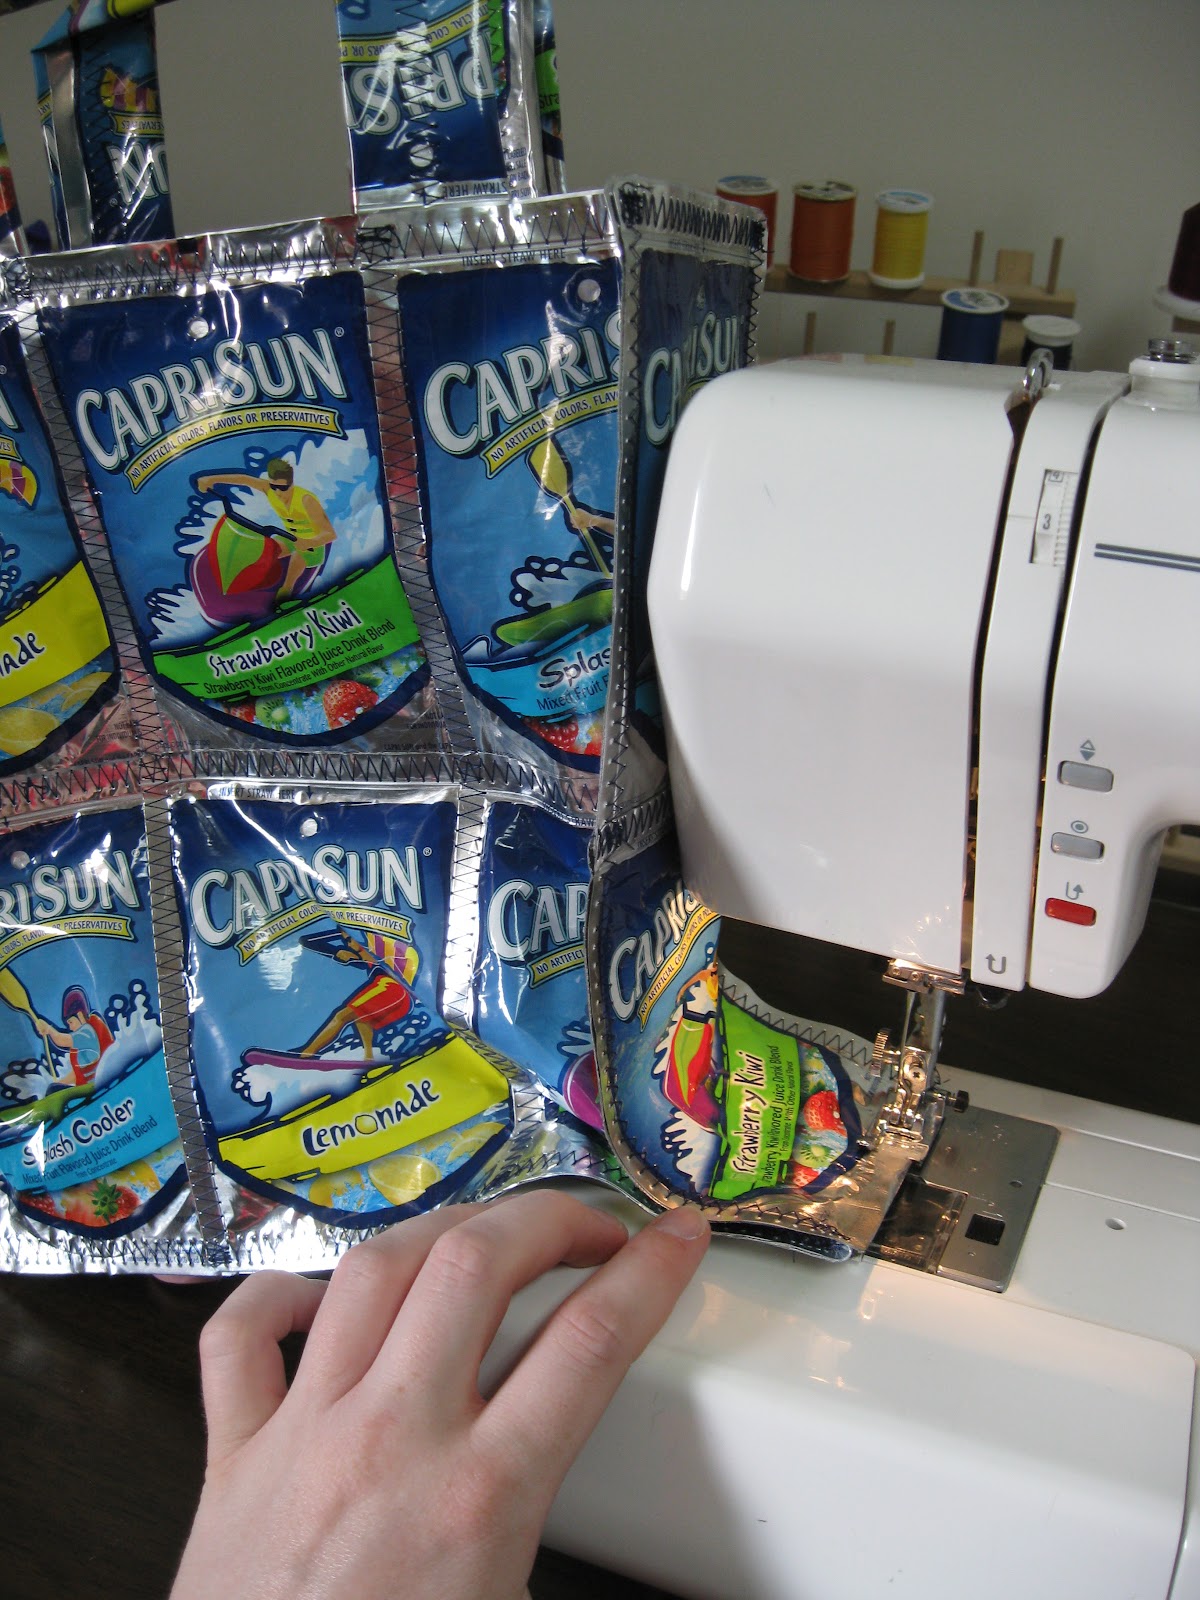
Sew down all of the "seams" of the bag. Basically wherever you taped - sew. (see picture below)
I do a zig-zag stitch because I think it's more fun... and it tends to join and hold better... but do whatever you see fit.

Front/back piece finished... now do the rest the same way... except there's way less sewing involved on most of the pieces... just horizontal.

You should now have 7 sewn pieces.

Now is a good time to pull the tape off the back... it should just peel right off. (everywhere except for underneath the stitches... but it's inside the bag... so you're not going to notice it)

Now to make the handles...
Fold the handle pieces into thirds longways... sew down the middle of both... and voila! Handles!

Fold the handles in this fasion... and make sure, when you fold them, that they're spaced well over the two top seams.

Tape on to the back of the front/back piece

And sew accross the entire top of the bag. (this looks better than just tacking the handles down... trust me)

You're going to also want to sew across the top of the two side pieces at this point.

Now comes the fun (hard) part.
Sew the bottom piece to one of the front/back pieces... wrong sides (silver sides) together.

I don't tape this part or anything... just kinda hold it as you sew.

Now sew one of the side pieces to the right side of one of the front/back pieces... Repeat for both front/back pieces.
Now sew the other front/back piece to the bottom.

It should now look like this...

Now sew up the two side seams

Now you're going to sew up the two sides of the bottom...
I like to sorta fold it and stick it under the machine like so.

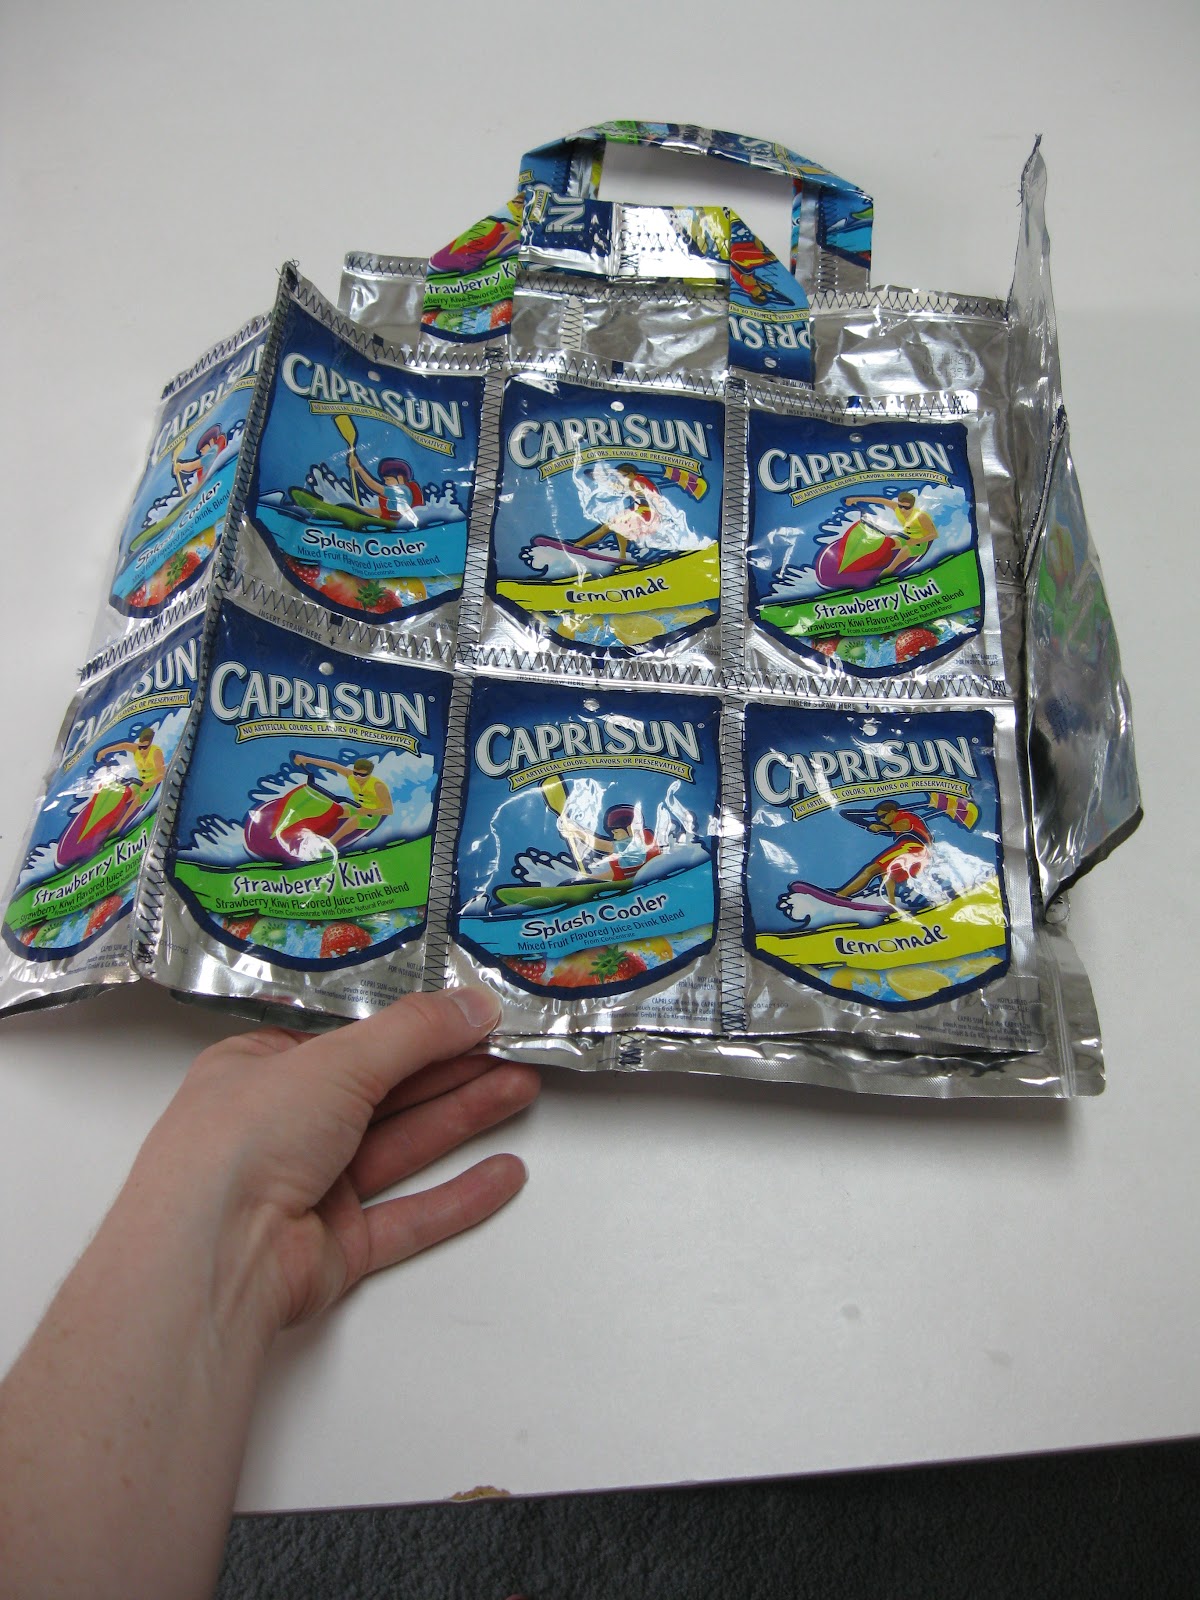
"Fluff" the bag a bit... and there you go!

I find it charming... don't you?


Well... that's all for today... I hope you've enjoyed this tutorial.
I'm sorry there were so many pictures... I tried to consolidate... but it didn't work out so well... =P
Enjoy your "new" tote!
Totally cute and practical... Great job Jordan!!! Love you, Aunty Susan
ReplyDeleteThis is absolute fantastic !
ReplyDelete